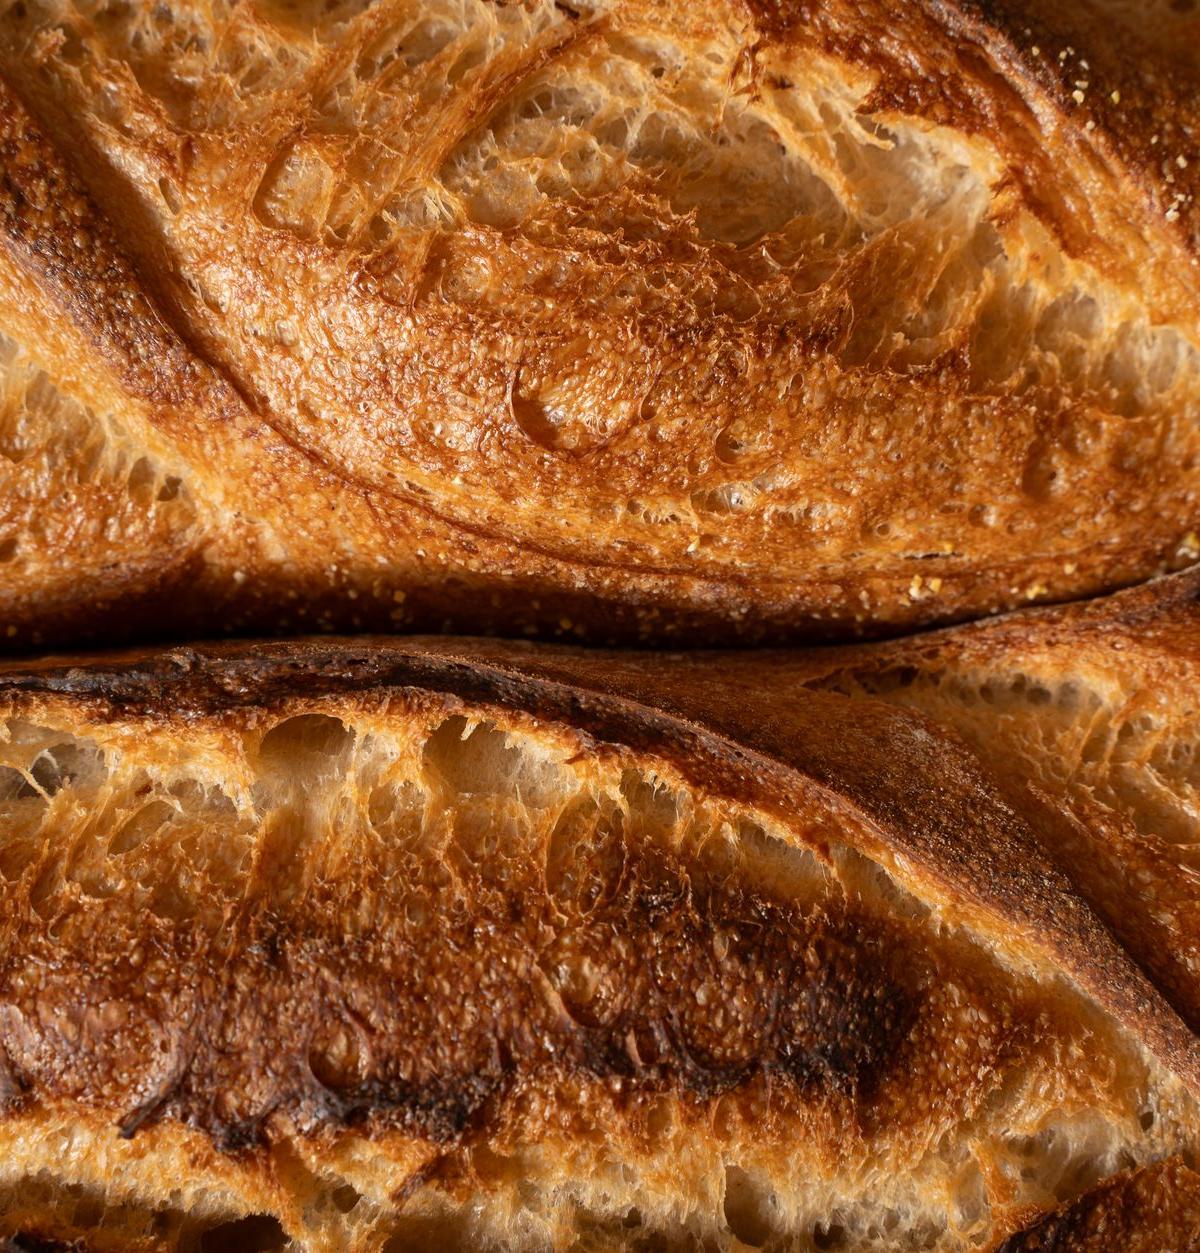
San Francisco Sourdough Bread
A tangy, rustic sourdough with a crispy crust and open crumb structure, made with a living starter and long fermentation. This iconic San Francisco loaf requires patience but minimal hands-on time.
- Total time
- 720 min
- Servings
- 1
- Calories
- 286
- Protein
- 9g
Ingredients
- 100 g active sourdough starter (fed 4-8 hours prior, bubbly and at peak)
- 500 g bread flour
- 350 g water, divided (75°F)
- 10 g fine sea salt
Instructions
- 1
In a large glass or ceramic bowl, combine 500 g bread flour and 325 g of the 75°F water. Use your hand or a wooden spoon to mix until all flour is hydrated and you have a shaggy, wet mass — no dry flour should remain. This is your autolyse. Cover with a damp kitchen towel and let rest at room temperature for 30-60 minutes. This resting period allows the flour to fully absorb water and develops gluten naturally, making the final dough easier to handle and improving flavor.
- 2
After the autolyse, add your 100 g of active sourdough starter (it should be bubbly and at peak with visible bubbles throughout — if it's flat, feed it and wait 4-8 hours) and 10 g fine sea salt to the dough. Dissolve the remaining 25 g of water in a small bowl, then pour it over the dough along with the starter. Using wet fingers, pinch and fold the dough 50 times: wet your hand, pinch the dough at the bottom of the bowl, fold it up and over itself toward the center, rotate the bowl slightly, repeat. This distributes the starter and salt evenly without traditional kneading.
- 3
Cover the bowl with a damp towel and let it rest at room temperature (68-72°F is ideal for San Francisco tang; warmer temps ferment faster, cooler temps develop more sour flavor) for 4-5 hours. During this time, perform a series of stretch-and-folds: every 30 minutes for the first 2 hours, wet your hand, grab the dough at one edge, stretch it up and fold it over itself toward the center, rotate the bowl 90 degrees, and repeat from all four sides. You'll feel the dough strengthen and become smoother with each fold. After 2 hours, stop folding and let the dough rise untouched. The dough is ready when it has increased in volume by 50-75%, jiggles slightly when you gently shake the bowl, and you can see a few large bubbles on the surface.
- 4
Turn the dough out onto a lightly floured work surface — it will be wet and sticky. Using a bench scraper, gently pre-shape the dough into a round by folding the edges toward the center a few times. Let it rest, uncovered, for 20-30 minutes. This relaxes the gluten so the dough won't shrink back when you final-shape it.
- 5
Dust the dough generously with flour and flip it seam-side up (the smooth side will be on the work surface facing down). Starting at the edge farthest from you, fold the dough toward you in thirds, pressing gently to seal with the heel of your hand, creating tension across the surface. This creates surface tension, which helps the bread rise up instead of spreading out. Place the dough seam-side up in a floured banneton proofing basket or a bowl lined with a well-floured kitchen towel. Cover tightly with plastic wrap and refrigerate for 12-18 hours. The cold fermentation develops deeper flavor and makes scoring easier.
- 6
About 1 hour before baking, place a 5-6 quart Dutch oven (or covered baking vessel) in your oven and preheat to 500°F. The vessel traps steam, which creates the signature crispy, caramelized crust. After 1 hour at 500°F, carefully remove the hot Dutch oven (it will be extremely hot — use thick oven mitts).
- 7
Flip your cold dough out of the banneton directly onto a piece of parchment paper. Using a very sharp bread lame or clean razor blade, score the top with a single confident slash, cutting at a 30-45 degree angle about 1/4-inch deep. A good score lets the bread expand upward (called 'oven spring') rather than splitting randomly. This is what creates those signature 'ears' on a San Francisco sourdough.
- 8
Carefully place the parchment and dough into the hot Dutch oven, cover with the lid, and reduce the oven temperature to 450°F. Bake covered for 20 minutes — the trapped steam is baking the dough and setting the crust. Remove the lid (be careful of escaping steam) and bake uncovered for 25-30 minutes longer, until the crust is a deep golden-brown, almost mahogany in color. You're looking for a crackling crust with lots of caramelization — this is where the characteristic San Francisco tang becomes visible.
- 9
Transfer the loaf to a wire rack and let it cool completely for at least 1-2 hours before slicing. The interior continues to set during cooling, and slicing too early will make the crumb gummy. Once cool, you can tap the bottom of the loaf — it should sound hollow and feel light. Slice with a sharp serrated bread knife using a gentle sawing motion, and enjoy the open crumb structure with its characteristic sour tang.
Tools you’ll need
- Large glass or ceramic bowl
- Damp kitchen towel
- Wooden spoon
- Bench scraper
- Banneton proofing basket (or mixing bowl lined with cloth)
- Plastic wrap
- 5-6 quart Dutch oven with lid
- Oven mitts (thick)
- Parchment paper
- Bread lame or clean razor blade
- Wire cooling rack
- Serrated bread knife
- Instant-read thermometer (optional, for checking starter temperature)
Cook smarter
Get matched recipes for what’s in your fridge
CookSnap is a free iOS app that finds real recipes from the ingredients you already have. No more grocery-list aspirations.