Classic Peanut Butter Cookies
Soft, chewy peanut butter cookies with a signature crosshatch pattern and deep, nutty flavor. Ready in under 30 minutes and require no mixer.
- Total time
- 25 min
- Servings
- 12
- Calories
- 245
- Protein
- 7g
Ingredients
- 1 cup creamy peanut butter
- ¼ cup unsalted butter, softened to room temperature
- ¾ cup granulated sugar
- ¼ cup packed light brown sugar
- 1 whole large egg
- 1 teaspoon vanilla extract
- 1.25 cups all-purpose flour
- ½ teaspoon baking soda
- ½ teaspoon kosher salt
Instructions
- 1
Preheat your oven to 350°F. Position one oven rack in the center. Line two large baking sheets with parchment paper.
- 2
In a small bowl, whisk together 1.25 cups all-purpose flour, 0.5 teaspoon baking soda, and 0.5 teaspoon kosher salt. Set aside — these dry ingredients will keep your cookies tender and properly risen.
- 3
In a large bowl, combine 1 cup creamy peanut butter, 0.25 cup softened unsalted butter, 0.75 cup granulated sugar, and 0.25 cup packed light brown sugar. Stir vigorously with a wooden spoon for about 1 minute until the mixture is light and fluffy — the sugars should begin to dissolve into the fats.
- 4
Crack one large egg directly into the bowl and add 1 teaspoon vanilla extract. Stir until the egg is fully incorporated and the mixture looks homogeneous, about 30 seconds. The dough should look smooth and creamy.
- 5
Pour the dry ingredient mixture into the wet ingredients. Fold together with a spatula using broad, sweeping strokes until just combined — do not overmix, as this can make the cookies tough. Stop as soon as you see no streaks of flour.
- 6
Scoop the dough into 12 equal portions using a 2-tablespoon cookie scoop or spoon, spacing them 2 inches apart on the prepared baking sheets. You should have 6 cookies per sheet.
- 7
Using the tines of a fork dipped in water, gently press a crosshatch pattern into the top of each cookie — press down lightly in one direction, then rotate 90 degrees and press again. This creates the classic peanut butter cookie look and helps them bake evenly.
- 8
Bake on the center rack for 11-13 minutes. The edges should be set and very lightly golden, while the centers still look slightly underbaked and soft — they will continue to cook on the hot pan after you remove them from the oven. Do not overbake, or they will become hard.
- 9
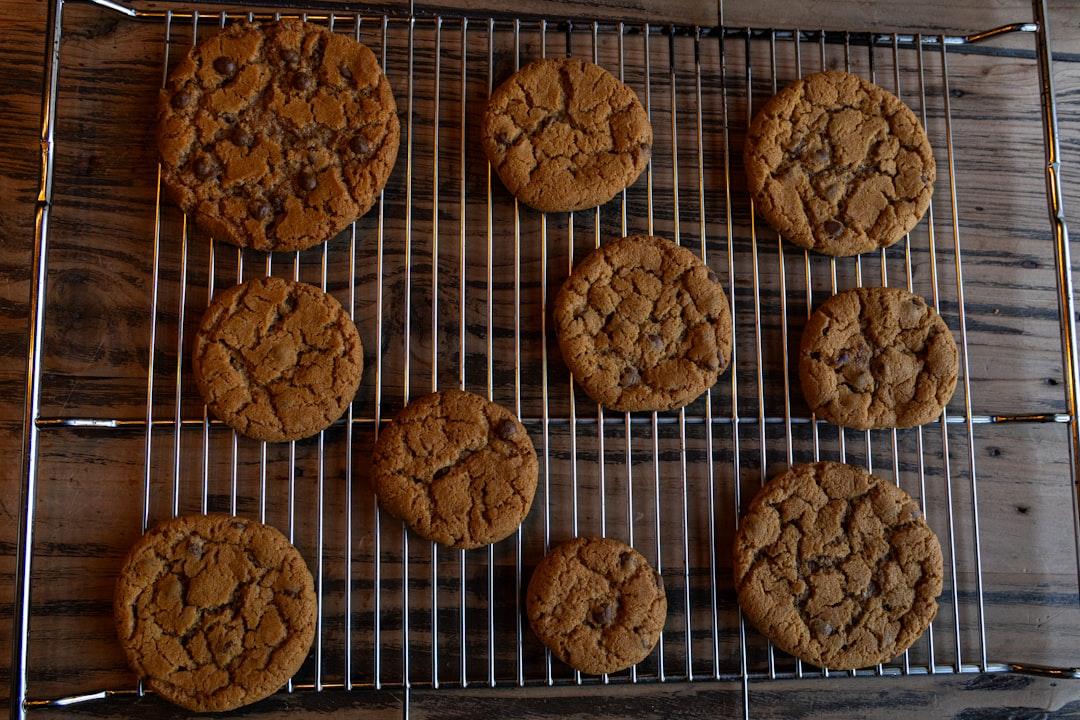
Remove the baking sheets from the oven and let the cookies rest on the pan for 5 minutes — this allows them to firm up enough to transfer without breaking. Then transfer each cookie to a wire cooling rack using a thin metal spatula.
- 10
Let the cookies cool completely on the rack, about 10 minutes, before serving. They will continue to set as they cool and develop that perfect chewy-crispy texture.
Tools you’ll need
- oven
- 2 large baking sheets
- parchment paper
- small bowl
- whisk
- large bowl
- wooden spoon
- spatula
- 2-tablespoon cookie scoop
- fork
- wire cooling rack
- thin metal spatula
Cook smarter
Get matched recipes for what’s in your fridge
CookSnap is a free iOS app that finds real recipes from the ingredients you already have. No more grocery-list aspirations.


