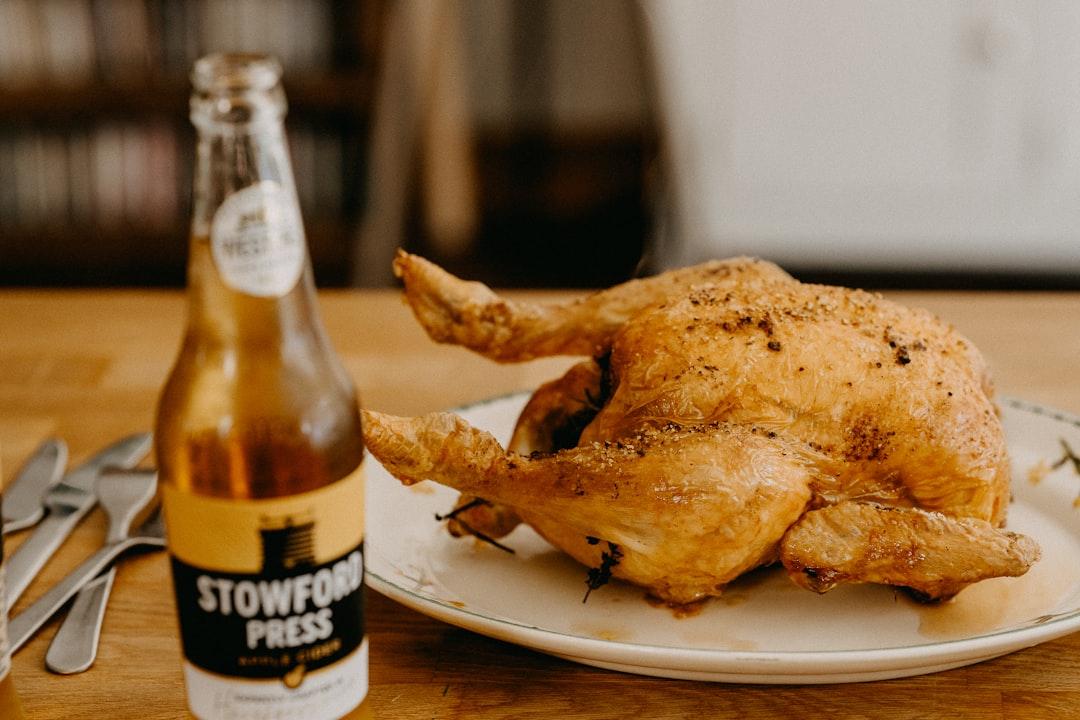
Beer Can Chicken
A whole chicken roasted upright on a beer can, infusing the meat with moisture and flavor while the skin crisps to golden perfection. Simple seasoning lets the technique shine.
- Total time
- 75 min
- Servings
- 4
- Calories
- 470
- Protein
- 54g
Ingredients
- 1 about 5 lbs whole chicken
- 1 12 oz can beer, any style
- 1 tablespoon kosher salt
- 1 teaspoon black pepper
- 1 teaspoon garlic powder
- 1 teaspoon paprika
Instructions
- 1
Remove the chicken from the refrigerator and let it sit on the counter for 30 minutes so it cooks evenly. Pat the chicken dry inside and outside with paper towels.
- 2
In a small bowl, combine 1 tablespoon kosher salt, 1 teaspoon black pepper, 1 teaspoon garlic powder, and 1 teaspoon paprika. Stir with a fork until mixed.
- 3
Open the beer can and take a sip or pour out 1/4 cup so the can is not completely full — this prevents overflow. Place the beer can upright in the center of a sturdy roasting pan.
- 4
Rub the seasoning mixture all over the chicken, inside the cavity and outside the skin, using your hands until the bird is evenly coated on all surfaces.
- 5
Carefully lower the chicken onto the beer can by sliding the legs down so the can sits up inside the cavity, like the chicken is straddling the can.
- 6
Set the oven to 425°F and wait for the indicator light or beep to signal it has finished heating, about 10 minutes.
- 7
Carefully transfer the roasting pan with the chicken and beer can to the center of the oven. The chicken should stand upright and not touch the oven walls or top.
- 8
Roast for 50–60 minutes until the skin turns deep golden-brown and the thigh meat, when pierced with a fork near the bone, releases clear liquid (not pink), about 165°F when measured with a meat thermometer.
- 9
Using tongs, carefully lift the chicken off the beer can by gripping the breasts and legs, holding it over the pan to drain any internal juices back into the pan. Place the chicken on a cutting board.
- 10
Let the chicken rest for 10 minutes without moving it — this allows the juices to settle back into the meat so it stays moist when carved.
- 11
Carve the chicken by pulling a leg and thigh away from the body, cutting through the skin and thigh joint until the leg separates; repeat on the other side. Cut the breasts free by slicing down either side of the breastbone.
- 12
Arrange the chicken pieces on a serving platter and pour any pan juices over the meat.
Tools you’ll need
- instant-read meat thermometer
- roasting pan, 12-inch
- paper towels
- small mixing bowl
- fork
- kitchen tongs
- cutting board
- chef's knife
Cook smarter
Get matched recipes for what’s in your fridge
CookSnap is a free iOS app that finds real recipes from the ingredients you already have. No more grocery-list aspirations.